Confession: I’m tired. I’d really been going at this thing doing 12 hour days and since I’m waiting on tools, materials and parts and didn’t have a clear path of work to do, I took it a little bit easier today. This turned out to be a good thing, as I discovered some more modifications that needed doing.
I started the day by applying seam sealer to the corners of the battery box where the triangular patches had been welded on. Then I loaded most of the parts I’d removed from the 2WD into the donor van, which made the place significantly tidier. Knowing that the assembly process is rapidly approaching, I decided to get a sense of all the parts I have. I opened up the box of new parts I’d picked up some time ago at GoWesty and I did the same for the box of parts I’d removed from the donor that I had powdercoated and the ones that I hadn’t. I then arranged everything into subgroups/assemblies. Afterward, I sat down and started reviewing all the photo-documentation I’d done of the donor before, during and after disassembly.
In so doing, I’d discovered one thing I’d forgotten and two other things I hadn’t noted in any of my research on the conversion process. The first was the two 5mm studs that hold the pneumatic reservoir for the 4WD system. They needed to be welded to a section of the frame. The new things were two mounts that needed to be removed from the donor and welded on. Each of them has a similar purpose of providing a mounting point for a hose clamp to hold a component in place. One is for the coolant distribution junction at the firewall and the other is for the coolant pipes themselves. I also had to move the clamp holding the hard lines for the power steering as it sits a little lower and further outboard on the crossmember than the 2WD to make room for the coolant pipes and the transferred mount I had welded on.

Coolant Pipes Mount & Relocated Power Steering Pipes
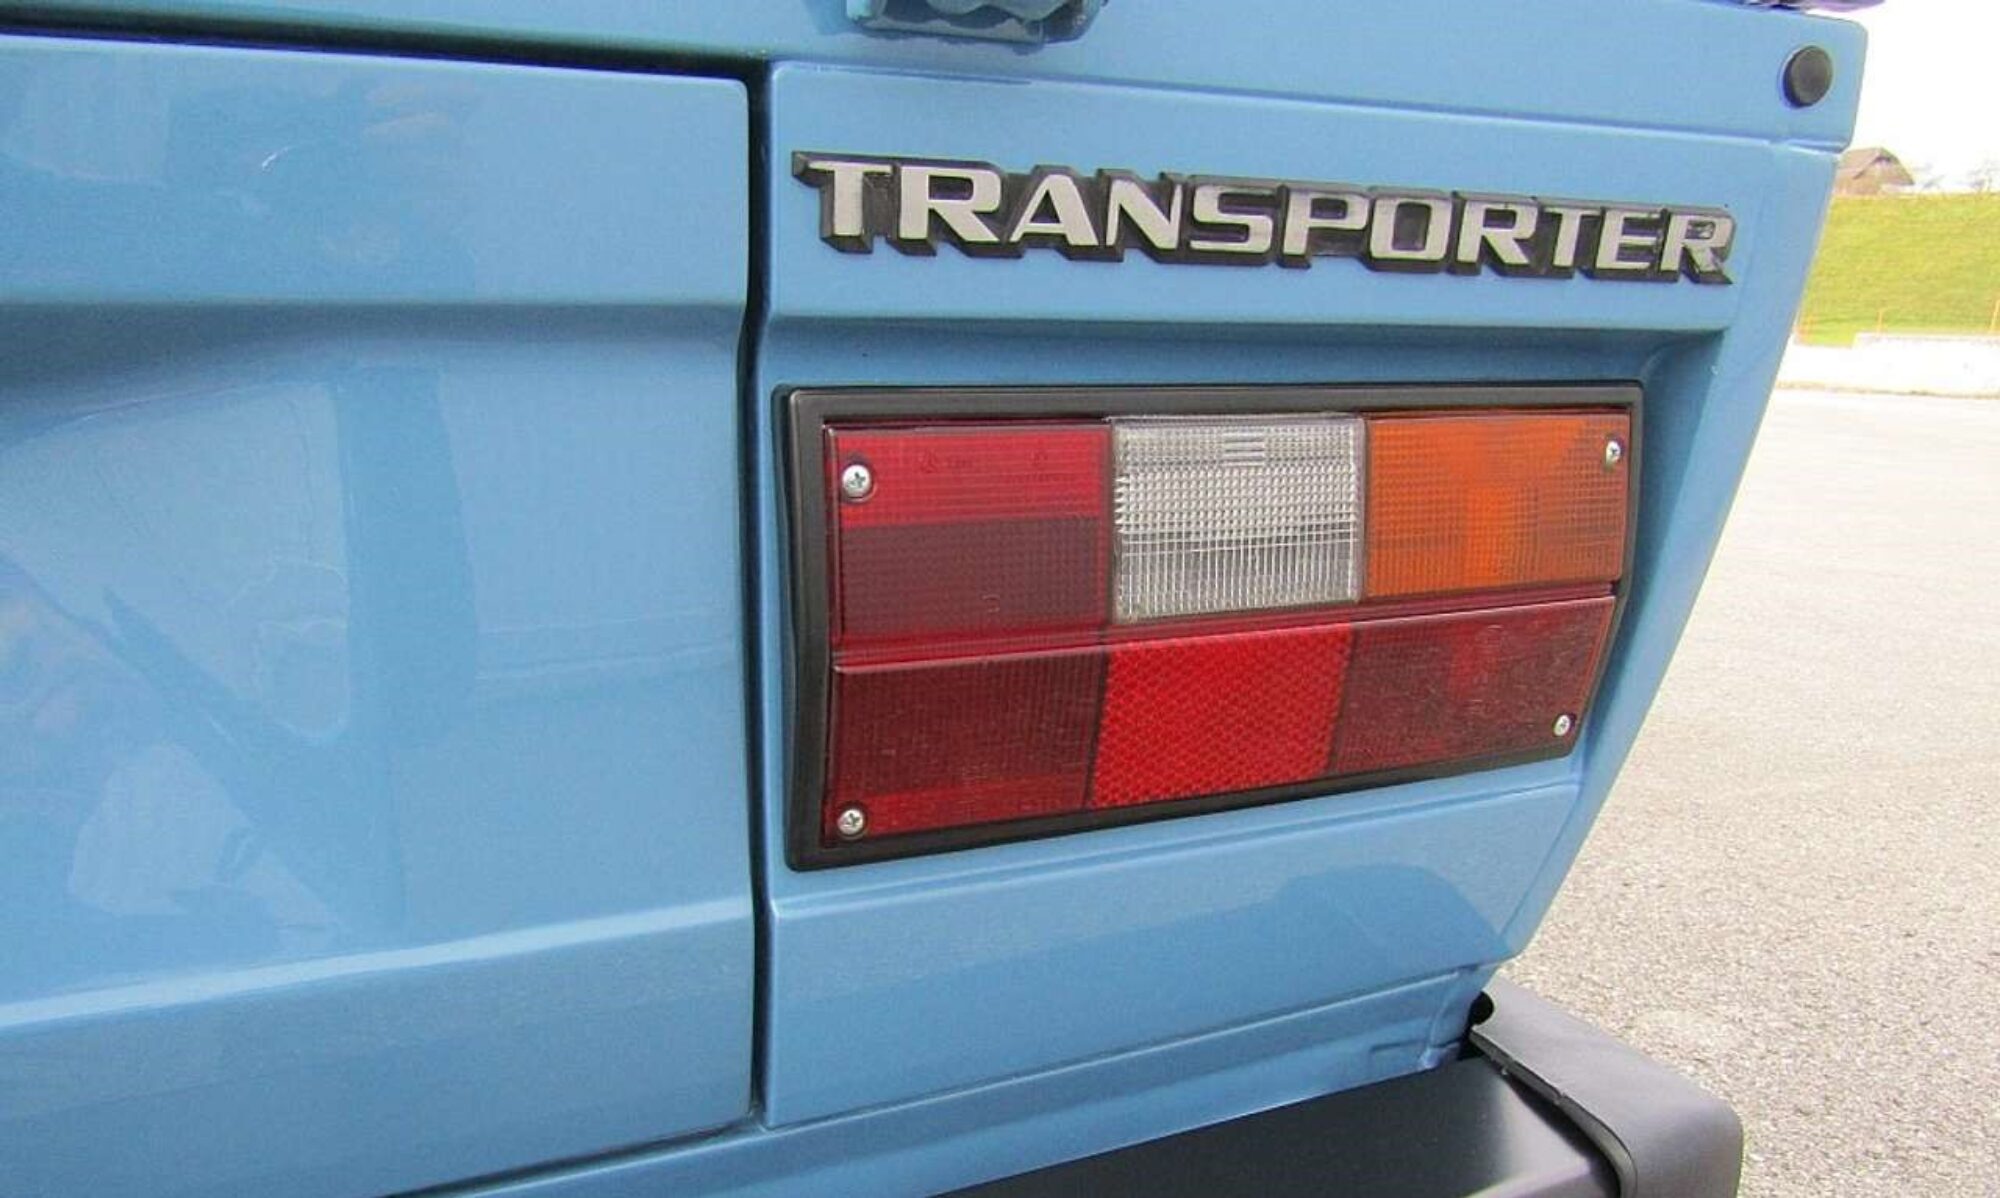
There were a couple of parts that needed painting. One was the Syncro-specific metal crossover pipe I’d bought used from GoWesty. The one from the donor was in rough shape. The other two parts were the front hubs that I elected not to powdercoat, figuring they were just too fussy for their shop to mask off. After they had dried I pressed them into the new front wheel bearings that I’d previously installed in the uprights. I finished up the day early by putting the rear seat cabinet/base back in the interior and installed the Syncro badge on the rear hatch.

If Only it Were as Simple as Adding the Badge
Day Five complete!


You must be logged in to post a comment.