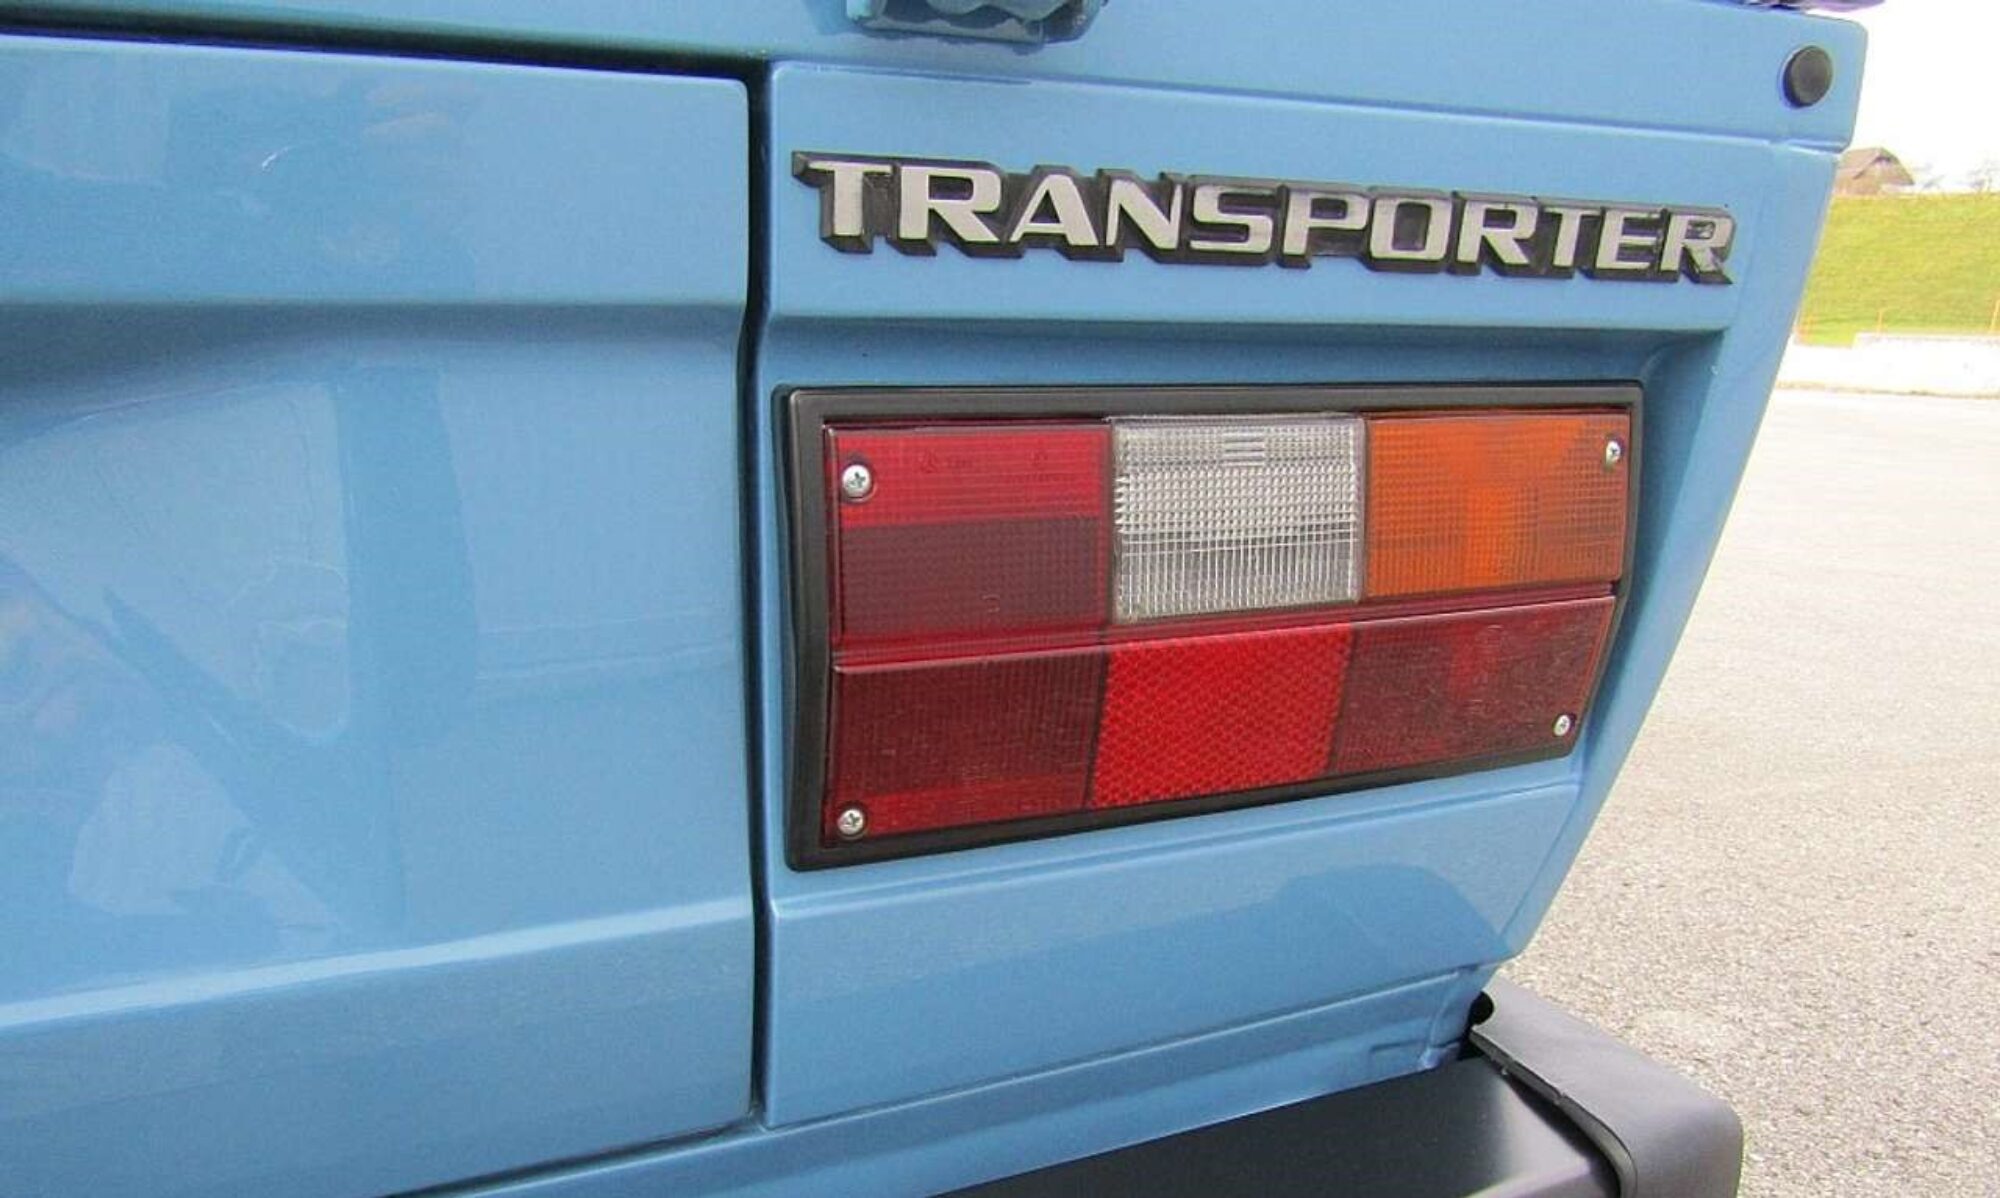
The van had been at the body shop for 6 weeks. During that time the 2WD fuel filler door was removed and the 4WD fuel door was added to the rear quarter panel. I also had a couple of small dents removed, the rear side marker lights shaved (I’ve always hated those things), the nose repainted (this had been done by a previous owner and the paint seemed to not be very durable) and I had the lower section of the body Raptor coated for some offroad protection and general badassery.
The first thing to do was to strip the van of all the front suspension, steering components, 2WD fuel tank, automatic transmission & linkage, engine, rear suspension, dashboard, automatic shift lever and pedal assembly. This left the 2WD/automatic wiring harness, the body-length plastic coolant pipes and a few small bits left, which I planned to remove after the front suspension fabrication work is done.
I took the time to add the clutch pedal and clutch master cylinder to the pedal assembly. While it was on the bench, I adjusted the master cylinder rod free play, so I wouldn’t have to do it once the assembly was back in the van. I removed the clutch master cylinder to make putting the pedal assembly back in a bit easier. Once it was in, I reinstalled the master and ran the feed hose up to the reservoir. The brake fluid reservoir is the same on an automatic and manual. The fitting for the clutch feed hose is heat crimped closed on the automatic. You simply clip that crip off, opening up the fitting and you now have a manual clutch reservoir.

Finally, I have a clutch pedal!
What I haven’t shown is how I organize my projects. I’m very much a ziploc and sharpie marker fanatic. I try to organize my parts by systems and label all the bits that are associated with a system. For instance, with the Syncro control panel, I had a ziploc with the dash wiring harness carefully coiled up, the metal support bracket, the rubber vacuum line ends and all the screws that go to that panel. Since I had the dash out I grabbed this bag and ran the panel’s wiring harness, drilled the hole for the support bracket screw and installed the bracket.
Day One complete!


You must be logged in to post a comment.