1991 VW T3 Syncro Conversion — Raptor Coating & Subframe

It was going to be really hot today and I wanted to get the Raptor sprayed early to avoid shortening its pot life. Besides, I was pretty eager to see how it turned out. The Raptor kit comes with 4 750ml bottles of product, a 1000ml bottle of catalyst and a spray gun. It is really easy product to work with. You just add 250ml of catalyst to one of the 750ml bottles, shake for 2 minutes, screw the actual bottle to the gun and start shooting. You want to wear a respirator suitable for paintwork and some protective clothing. The Raptor sprays really easily with minimal overspray. Working under the van as I did it was even pretty easy to shoot above me. The hardest part of the job was seeing well enough to make sure I got good coverage.

image
Back Half of Underbody Done

The best part of doing this job is seeing the results. Detailing the underbody is pretty much going to be a massive win no matter how you approach it, as anything is going to look so much better than how it did when you started. Furthermore, it’s the underbody and you don’t have to be completely careful as you would painting the body itself or some nice part. The photos don’t do it justice. It looks far better in person. I hung my LP gas tank on my parts painting rack and set it over dirt as the Raptor has a fair amount of spatter and I didn’t want that raining down on my concrete drive. I sprayed the tank and after an hour or so I spray painted over it in white. It turned out great!

image
Raptor Coat on LP Gas Tank

image
White Top Coat Applied over Raptor

As I was painting the tank, I heard the UPS truck and knew my 12 ga sheet metal plate had arrived. If you ever need a small quantity of sheet metal (in my case a 12″x12″ piece), check out eBay. I’ve ordered a few small bits of metal there and had great results.

The temperature was 104° and I was really feeling delirious. I rested for a very short while, but my desire to complete this project overcame my need for self preservation, so I set about cutting my two subframe mounting plates. I test fit them and made some small length adjustmets, so they fit how I wanted them to. My next step was to install the subframe in order to get a sense for how the plates should sit side to side. I set the subframe on a rolling rack I have and lowered the van onto it. I bolted it in at the rear and placed the plates in position, carefully taking measurements and centering them. After I was satisfied with their placement, I tack welded them in place and removed the subframe. I then fully welded them in and refit the subframe to mark my mounting holes. Those were drilled, I bolted the subframe and stood back. My van was no longer a 2WD van, but basically a disassembled Syncro. This moment was monumental to me.

image
Test Fitting Subframe

image
Plate Clamped in After Fitting

image
Holes Drilled in Welded Plate

image
Subrframe Fully Bolted in

Once this was done, I marked and drilled the holes for the two sway bar mounts that attach just behind the subframe on those same plates. While this was happening my lovely assistant was, once again, masking and hanging plastic sheeting for the tomorrow’s Raptor coating of the front underbody.

Day Seven complete!
1991 VW T3 Syncro Conversion — A Mess and New Parts

I awoke feeling somewhat like a zombie. My first task was to disconnect an AC line in order to reroute it, because once again it is different on a Syncro. I was so focused on the disconnect job that when I removed said line from the compressor, the system was still under pressure. I was immediately doused in PAG oil and it was everywhere. Apparently, I didn’t have enough work to do, so I elected to create some more. The engine was in close proximity and still on the jack from when I pulled it and it got sprayed. After I cleaned up me, the floor, the van, and some various other targets, I figured it was a good time to pressure wash the engine. I rolled it out to the drive, sprayed foaming engine degreaser on it and got it nice and clean.

With the Syncro fuel door installed in the right rear quarter panel, some changes needed to be made in the body cavity in the same area. There is a dual relay looking box, known as the Idle Control Unit that needed its mount relocated up and to the right. I also needed to drill a hole for a vent line that runs from the filler neck to the fuel tank.

Then UPS showed up. I’d been waiting for a 46mm socket I’d ordered to remove the rear axle nuts. Once those were off I removed the rear brake assemblies and then the stub axle bearing carriers. All of this was necessary, because I needed to take the stripped trailing arms to GoWesty for cores on the special lengthened arms I’d purchased. I loaded up my old Ranchero and headed down there.

I owe nearly all of my van project’s potential to GoWesty. Lucas and his crew have done an incredible job of designing, engineering, manufacturing and selling a tremendous number of products to keep the VW Vanagon a viable motor vehicle 25+ years since they stopped being produced. I feel extremely lucky to live close enough to drive down there to pick up my parts, see their impressive operation and deal, personally, with their great staff. Andrea at the will call counter, Dennis and Blake on the phone, Mike in used parts, plus the few others with whom I’ve had interactions with have all been totally cool people. Thank you GoWesty for existing.

Once back at the shop, I set about installing my decoupler and assembling my fuel tank. The fuel tank had originally been covered in a fiberglass insulation with an aluminumized outer face. It was in pretty tired condition, so I redid the insulation using modern adhesive-backed heat shielding. The sending unit was quite rusty as were the two metal retaining half-circles that retained it. These half-circles are metal and each have 4 6mm studs protruding from one face. These go inside the tank and push through one gasket and are then installed with their studs sticking out of holes in the sending unit flange. Once in place they provide the hardware point to mount the sending unit to an, otherwise, plastic fuel tank. GoWesty provided me with new ones fabricated from stainless steel.

image
Decoupler Installed

image
New Sending Unit in Tank

While I was doing this, my lovely assistant, set about masking and hanging plastic sheeting for the underbody Raptor coating that would occur first thing in the morning.

image
A Temporary Underbody Spray Both

Day Six complete!

1991 VW T3 Syncro Conversion — Organization & More Welding

Confession: I’m tired. I’d really been going at this thing doing 12 hour days and since I’m waiting on tools, materials and parts and didn’t have a clear path of work to do, I took it a little bit easier today. This turned out to be a good thing, as I discovered some more modifications that needed doing.

I started the day by applying seam sealer to the corners of the battery box where the triangular patches had been welded on. Then I loaded most of the parts I’d removed from the 2WD into the donor van, which made the place significantly tidier. Knowing that the assembly process is rapidly approaching, I decided to get a sense of all the parts I have. I opened up the box of new parts I’d picked up some time ago at GoWesty and I did the same for the box of parts I’d removed from the donor that I had powdercoated and the ones that I hadn’t. I then arranged everything into subgroups/assemblies. Afterward, I sat down and started reviewing all the photo-documentation I’d done of the donor before, during and after disassembly.

In so doing, I’d discovered one thing I’d forgotten and two other things I hadn’t noted in any of my research on the conversion process. The first was the two 5mm studs that hold the pneumatic reservoir for the 4WD system. They needed to be welded to a section of the frame. The new things were two mounts that needed to be removed from the donor and welded on. Each of them has a similar purpose of providing a mounting point for a hose clamp to hold a component in place. One is for the coolant distribution junction at the firewall and the other is for the coolant pipes themselves. I also had to move the clamp holding the hard lines for the power steering as it sits a little lower and further outboard on the crossmember than the 2WD to make room for the coolant pipes and the transferred mount I had welded on.

20160720_200822414_iOS
Pneumatic Reservoir & Mounts

20160720_225917466_iOS
Coolant Junction Mount

20160720_223217869_iOS
Coolant Pipes Mount & Relocated Power Steering Pipes

There were a couple of parts that needed painting. One was the Syncro-specific metal crossover pipe I’d bought used from GoWesty. The one from the donor was in rough shape. The other two parts were the front hubs that I elected not to powdercoat, figuring they were just too fussy for their shop to mask off. After they had dried I pressed them into the new front wheel bearings that I’d previously installed in the uprights. I finished up the day early by putting the rear seat cabinet/base back in the interior and installed the Syncro badge on the rear hatch.

20160720_232422000_iOS
If Only it Were as Simple as Adding the Badge

Day Five complete!

1991 VW T3 Syncro Conversion — More Parts Removal and Prep

As mentioned, I intend to add a decoupler to the 4WD system (center knob on the Syncro control panel).This is a pneumatically controlled device that disconnects the front drive shaft from the transmission and allows the van to be driven regularly as a 2WD vehicle. VW shipped all their US-bound Syncro Vanagons with a “viscous coupler” and full-time 4WD. The viscous coupler is a device located in the front differential housing that is driven by the center driveshaft. It is a wheel slip sensing mechanism that contains some rotating plates somewhat akin to clutch plates and a fluid that hardens as it increases in temperature. If the front wheels slip, the fluid hardens and the 4WD system applies more torque to the front drive system. As slip decreases, the temperature of the fluid decreases and the system reduces the application of torque to the front wheels. It is a really cool concept and, one that, works pretty well until it fails. When that occurs, the drive train is under significant stress from operating with little to no slip between the front and rear axles. This is fine in a straight line, but quite bad when attempting to turn as the axles need to run in different arc paths/speeds and cannot do so. Besides the failure issues, there is an advantage to having 2WD/4WD control in terms of economy. Furthermore, I’m a fan of manual controls. What’s cool about the Syncro control system is that it can be operated at speed without having to slow or stop, provided you’re traveling in a straight line. Pull the knob for 4WD, push it in for 2WD, simple. GoWesty needs my non-decoupler nose cone as a core for a future decoupler, so I removed it for them.

20160718_222420348_iOS
Non Decoupler Nose Cone

20160718_223853603_iOS
Nose Cone Removed

After all that has been done so far, there was still more parts left on the van that needed to be removed. I’d left the van-length coolant pipes and the main wiring harness still in, so those all needed to come out. The coolant pipes are different on the Syncro (I’m sensing a theme here) and I’ve purchased stainless steel replacements from GoWesty. The wiring harness is meant to be swapped with the manual transmission version, which I’d already wired in at the fuse box/dash end. I also removed the LP(propane) tank to prep and repaint it, too.

With all these parts out of the way, I proceeded to weld in the center crossmember and the fuel tank saddle. The center crossmember is welded directly to the underside of the van’s metal floor and, in a Westfalia, there is a plywood floor with a plastic laminate mounted to this metal floor. Knowing the plywood and welding wouldn’t mix, I had to remove the back seat cabinet/base, unscrew and break free the floor’s glue from the metal subfloor. I didn’t want to remove all the cabinetry to fully remove the floor, so I simply lifted it high enough to clear the subfloor, while keeping it held it up with a tool.

20160719_174430135_iOS
Center Crossmember Tack Welded in Place

20160719_200111128_iOS
Fuel Tank Saddle Installed

After the floor had cooled, I laid down fresh adhesive, screwed the floor back down and put some heavy objects on it. Once I had gotten that done, I was thinking that was it for the welding, other than the front mounting plates for the subframe. Then I remembered the battery boxes needed modifying. These vans have two battery boxes, one under each front seat, and they protrude into the wheel wells. The Syncro has the outside corner nipped off and a triangular plate is welded on. This is done for tire clearance.

20160720_022515957_iOS
Right Side Battery Box Corner

The transmission on the Syncro mounts differently than the 2WD vans, as the nose of the transmission has a driveshaft that has to be connected to it. There are two mounts that hang on either side of the transmission and each mount is attached to the rear crossmember via three threaed holes that don’t exist on the 2WD. I’d made a little template out of file folder, carefully transferring the hole locations to it from the donor. The template simply bolts up to the van using the original 2WD mount holes that happen to exist on both the 2WD and the 4WD. I plan to use rivet nuts to provide the threaded portion of the holes. At this stage, I just drilled the pilot holes in preparation.

20160324_201806000_iOS

Since removing the parts from earlier in the day exposed more of the undercarriage, I scraped and brushed these spots to prep for the Raptor coat. I also cleaned the remaining wiring harnesses, AC lines and firewall, as they were pretty grubby.

Day Four complete!


1991 VW T3 Syncro Conversion — Interior Electrical

There isn’t much to actually see here, but this was a fair amount of work. Basically, my van was a 2WD, automatic, Wesfalia with cruise control. The donor was a 4WD, manual, 7 passenger without cruise control. I wanted to have as clean an installation, electrically, as possible (automotive electrics are a bit of a fetish of mine) and this meant swapping the main wiring harnesses from the two vans. Where this got a bit tricky, and required some study of the shop manual, was the subtle differences between the two van’s feature sets. I had to rework the cruise control to account for a clutch pedal cutoff switch and no automatic transmission. I also had to rework how the refrigerator received its 12v power source.

in addition to the electrics, I had to swap the speedometers, as the Syncro and 2WD have different ones. Along with this, I had to install the Syncro-specific speedometer cable. The 2WD speedometer cable is driven from the left front hub, but the Syncro’s cable is driven from the front differential.

Once all this was done, I reinstalled the dashboard, gauge cluster and steering wheel. The last part of the job was installing the Syncro control panel trim.

image

Syncro Control Panel Installed

The donor van had the optional locking rear differential, hence the single knob. I’m adding a decoupler to toggle between 2WD and 4WD as well as a front differential lock, neither of which were offered on US bound Vanagons. Once those parts are picked up this week, I’ll add the control switches and have a true “triple knob” Syncro.

Day Three complete!

1991 VW T3 Syncro Conversion — Converting the Front Suspension

Here’s a window into my soul. This was the part of the job I was really intimidated by and I have, literally, lost sleep over this during the entire year (I bought the Syncro donor in August of 2015!) leading to this moment. The hardest most tricky part of the conversion is changing the front suspension. The 2WD has all the lower suspension mounts integrated into the body of the van. They are assemblies that are spotwelded and/or welded into the unibody frame at the factory. Both the 2WD and 4WD have their steering rack mounts integrated into the frame, but they are different assemblies and the 4WD one has to be cut out of the donor, prepped and installed into the 2WD. The 2WD lower suspension mounts have to be completely cut out of the frame and discarded. The 4WD has a bolt-in tubular subframe that carries the lower suspension componets and the front differential. Before I bought the donor, I spent a fair amount of time researching the process of a Syncro conversion. Many of the documented conversions are limited in photos and some of the more thoroughly documented ones were done, well, in ways that I wouldn’t necessarily want to replicate. I fiercely adhere to high standards and this is my van, a vehicle I treasure. I wanted this to be right and I knew that once I started cutting, there was no turning back.

image
4WD Rack Mount

image
2WD Lower Control Arm Mount, Steering Rack Mount & Forward Radius Rod Mount

image
2WD Components Gone

image
Steering Rack Mount Attachment Point Prepped — Right Side

image
4WD Steering Rack Mount Clamped in for Test Fit

Since the Syncro’s subframe is bolt-in, the 2WD needs a few modifications to accomodate this. The easiest is the rear mounting points. The frame rails each have two holes already located in them. The Syncro has a little rectanglular opening forward of these holes to allow a steel bar that has two threaded holes in it to be slid into the frame rail. Once installed, the threaded holes in the bar align with the holes in the frame rails and serve as the rear mounting points. One simply has to add the rectangular opening to the 2WD chassis.

image
Bar with Threaded Holes and Rectangular Opening

image
Bar Inserted into Frame Rail

The last part of this process is setting up the forward mounting points for the subframe, which also serves for mounting the sway bar. Where the 2WD forward radius rod mount was cut out is a large section where the stub of the mount needs to be ground flush to the frame rail. Once that has been done, there is a slight recess in the frame rail. Just forward and rearward of that recess are sheetmetal plates that box in the frame rail. A plate of similar thickness needs to be welded into the recess to fill that void. That plate is then drilled for the subframe’s forward mounting holes and for the sway bar’s mounting holes.

image
Frame Rail Dressed for Plate Installation

I’ll have to source the correct thickness plate from a local sheet metal fabricator. Once I have done so, a future post will illustrate that installation.

Day Two complete!


1991 VW T3 Syncro Conversion — Stripping the Van

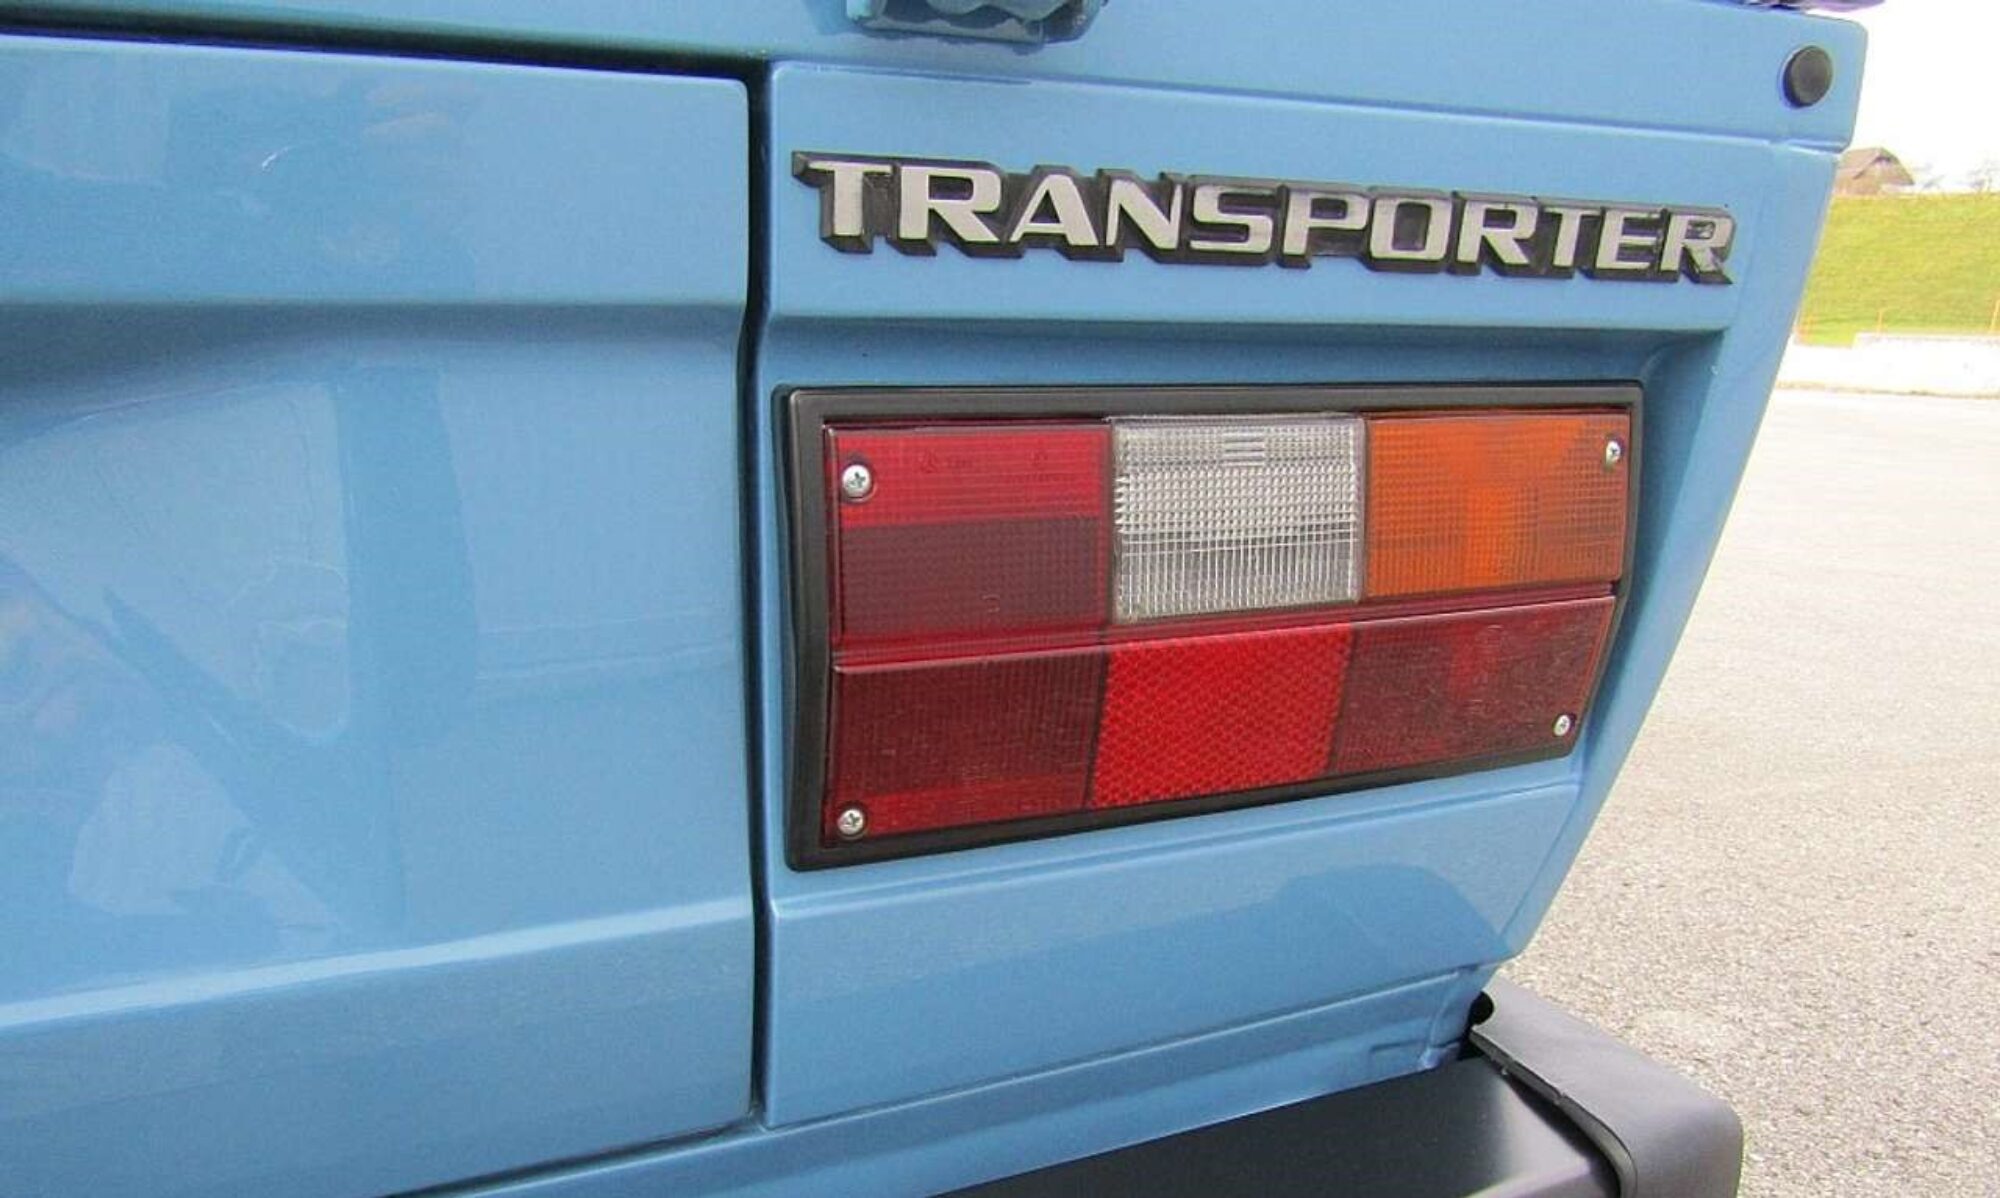
The van had been at the body shop for 6 weeks. During that time the 2WD fuel filler door was removed and the 4WD fuel door was added to the rear quarter panel. I also had a couple of small dents removed, the rear side marker lights shaved (I’ve always hated those things), the nose repainted (this had been done by a previous owner and the paint seemed to not be very durable) and I had the lower section of the body Raptor coated for some offroad protection and general badassery.

image
Fresh from the Body Shop

The first thing to do was to strip the van of all the front suspension, steering components, 2WD fuel tank, automatic transmission & linkage, engine, rear suspension, dashboard, automatic shift lever and pedal assembly. This left the 2WD/automatic wiring harness, the body-length plastic coolant pipes and a few small bits left, which I planned to remove after the front suspension fabrication work is done.

image image image image

I took the time to add the clutch pedal and clutch master cylinder to the pedal assembly. While it was on the bench, I adjusted the master cylinder rod free play, so I wouldn’t have to do it once the assembly was back in the van. I removed the clutch master cylinder to make putting the pedal assembly back in a bit easier. Once it was in, I reinstalled the master and ran the feed hose up to the reservoir. The brake fluid reservoir is the same on an automatic and manual. The fitting for the clutch feed hose is heat crimped closed on the automatic. You simply clip that crip off, opening up the fitting and you now have a manual clutch reservoir.

image
Finally, I have a clutch pedal!

What I haven’t shown is how I organize my projects. I’m very much a ziploc and sharpie marker fanatic. I try to organize my parts by systems and label all the bits that are associated with a system. For instance, with the Syncro control panel, I had a ziploc with the dash wiring harness carefully coiled up, the metal support bracket, the rubber vacuum line ends and all the screws that go to that panel. Since I had the dash out I grabbed this bag and ran the panel’s wiring harness, drilled the hole for the support bracket screw and installed the bracket.

image
Syncro Control Panel Guts

Day One complete!

1991 VW T3 Syncro Conversion – Rebuilding

I took all the Syncro parts to Full Spectrum Powder Coating for coating. They did a great job from blasting to masking to coating and the price to do all 62 parts was beyond reasonable.

IMG_2417
A few of the coated parts

In the meantime, I’d ordered some parts from a really great place called T3 Technique. I don’t know Christopher at all, but there is something about what he is doing there that I really connect with. I went big and got all of his bushings on offer and a few other bits. The order I placed came so nicely packed and everything well labeled and organized. What really impressed me was his Shifter Guide Repair Kit. Not only is the existence of such a kit great, but he includes epoxy, a popsicle stick AND a piece of card stock to mix it on – who does that?! Awesome.

IMG_2392
Parts order from T3 Technique

IMG_2427
Repaired shifter guides

IMG_2428
Re-bushed sway bar


1991 VW T3 Syncro Conversion – The Donor

Once the shop was pretty much finished, I was able to set about putting der Thunderwagen on the lift and begin the process of stripping it. First thing I did was take photographs of how the Syncro system was setup for reference. For the few months the van sat while the shop was being constructed, I had gone out every week or so to douse as much of the hardware as I could in AeroKroil to combat my fighting with rusty fasteners. I want to believe it helped, because I only had to cut four bolts during the entire teardown process. Since I am converting my automatic to a manual, I had to do some extra work to remove all the associated manual transmission parts, too.

IMG_2178
der Thunderwagen’s Last Stand

IMG_2313
Nearly a complete Syncro “kit”


1991 VW T3 Syncro Conversion – The Beginning

This is a saga.

I’ve got a really nice 1991 VW Vanagon Westfalia Campmobile. I got a good deal on it and it was in really nice cosmetic condition – particularly the interior. As such, I ended up with an automatic transmission and 2WD. The 2WD didn’t really phase me for the first year of ownership, however I really can’t put aside my disdain for automatic transmissions. I’m not going to go there beyond making that statement. The more I used the van for adventuring and camping, the more I wanted to explore the forests and deserts of CA. I’ve lifted my van and fitted 16″ wheels with off-road tires. These have been great on relatively tame fire roads, however I nearly got stuck on a dirt “road” in Mojave and it scared and annoyed me. I’d stopped in some soft silt and the “one wheel drive” system just dug a hole and it took some creativity to get the van unstuck. I very quickly talked myself out of having talked myself into not needing a 4WD van.

IMG_0501
My 1991 VW Vanagon Westfalia Campmobile

Last August I tracked down a pretty physically beat up 1987 Vanagon Syncro (4WD) equipped with the optional locking rear differential that would serve as a donor vehicle for converting my Westfalia to a Syncro. The van was, unfortunately, located in Maine. I spent a fair amount of time speaking with the owner and discussing how I’d get it to CA. Ultimately, he convinced me it was in “excellent” mechanical condition and I decided to fly there and drive it home.

I spent the week or so prior to my flight being extremely anxious about the trip — my anxiety turned out to be justified. Upon pulling away from the parking lot, after exchanging the remaining balance of the purchase price, I knew I was in for an interesting trip. The throttle stuck and the van would idle at 2500 RPM and there was a driveline vibration the likes of which I’d never experienced before.

IMG_1742
At least it’s a Syncro

I headed out of Maine and was pretty surprised by how well the beast drove, save for the vibrations. It hustled right along and I was enjoying myself. I had observed the entire back of the van was coated in a layer of gear oil during a fuel stop and decided when I was in the city again I’d have the level checked. I had just crossed the Ohio state line when I noted something in my rearview mirror and the tone of the van change drastically. I focused on the mirror and to my horror my “new” muffler (that had been installed with safety wire) was making a beeline for a motorcycle. Fortunately, it was rolling in an arc and careened off the road sparing what would have been a disaster. The van now sounded like a pack of Harley Davidsons. I stopped at a lube shop and the gearbox was empty. I had it filled and continued on my way. Some time later, the van shut down after paying my toll at a toll plaza. I managed to get it into the toll worker’s parking lot and fussed. I changed the fuel pump relay (I’d brought a spare) and the van fired up again (crazy, as I’m typing this I now recall the previous owner mentioning some nonsense of having to goose the electrical connection to the fuel pump to get the van started the morning he met me to hand it over). I was blowing along when the van suddenly got crazy insane louder. I stopped and discovered the #1/#3 exhaust manifold had blown itself to pieces and I was now running with open cylinder heads on those two cylinders. The Vanagon has a 4 cylinder boxer engine, so the #1 & #3 cylinder’s exhaust ports face the passenger compartment and, as such, I was being blasted by the full bore of the exhaust’s fury. I’m incapable of conjuring up the vocabulary needed to describe the decibel level in the van at that point. I don’t recall how many hours I drove it that way before finally stopping for earplugs. When I did finally stop and shutdown the madness, I discovered I was audio hallucinating Jimi Hendrix wailing away with Dizzy Gillespie soloing on his horn in the most psychedelic kaleidoscope cacophony of crazy I’d ever heard. My nerves were wrecked.

IMG_1748
My favorite part of the entire trip – petrol bliss!

I hammered on and just outside of Denver der Thunderwagen shutdown again. I sat on the side of the highway in the middle of nowhere and pondered my fate. I tried starting the van again and it fired. I continued on my way and little while later it shutdown again. It continued this way — shutting down, waiting, restarting — for many a mile until it simply would not start again. The fuel pump was done. I’d gotten significantly closer to Denver and called AAA. During my wait I had some help securing a fuel pump at an Auto Zone in Denver. I had the van towed there and after a ridiculously long wait there, I had a pump. I proceeded to change it in the parking lot only to discover the hose from the tank to the pump would not fit on this new pump. The worst of it was the deluge of fuel pouring from the tank directly out of that hose. I threw the original pump back in and bought a length of hose that I thought I could make work. What happened next was a nightmare. I had to wrestle this new hose/pump arrangement into the van and while doing so I had an open artery of gasoline pouring out of the tank and onto the asphalt where I lay. I was lying on my side in gasoline from hair to thigh and it burned my skin, melting the asphalt in the process. I was having visions of self-immolation, however I was without a worthy cause. I threw my fuel and melted-asphalt soaked shirt into the trash and headed to the refueling station reeking of gasoline. I got fueled up and jumped on the highway. Within mere moments of getting up to speed, I noted the charging system light was on and the water temp gauge light blinking at me with the temperature climbing. I pulled to the shoulder and looked. The “new” alternator had sheared both of its mounts off. I can only assume this was due to the vibrations sustained during my epic crossing.

I was done. I gave in. I ordered an expensive U-Haul truck and trailer and made the rest of the journey in air conditioned peace and quiet.

IMG_1758
der Thunderwagen tamed